How to Make a Terraria Mod

If you’ve never coded but have a cool idea for a Terraria mod, this guide is for you. In this guide, we’ll show you what you need to get started, generate the files for your first mod, make your first changes, and then what tools you can utilize to continue your journey.
Starting from zero
Here’s a checklist of things you will need to get started:
- Terraria
- tModLoader
- .NET 8.0 SDK: If you need help installing, check out this guide.
- Any IDE or text editor: IDEs are just programs people write code in. Visual Studio, Visual Studio Code, and Notepad++ are all good options if you’ve never used one before.
Things you will need to finish your project:
- Program to draw pixel art (Even if your mod doesn’t include custom sprites, you will need to do this to make an icon for your mod for the tModLoader’s browser and the Steam Workshop. Tools people commonly use for this are Piskel, GIMP, or Aseprite).
- An idea
We’ll be coding our mod in C#, so some knowledge of the language will also help. If you don’t know any C# but would like to learn to give life to your idea, this type of project is perfect! There are tons of resources for learning C# for tModLoader that we will highlight later in this guide. For now, check out either of the guides below to familiarize yourself with some of the basic terms used to describe C# code, as we’ll be using some of those terms on this page.
Generate a mod skeleton

First, we need to create the foundational files for our mod. tModLoader will do this for us in a few steps.
- Launch tModLoader
- In the main menu, click on Workshop
- Click Develop Mods
- Click Create Mod
- ModName (no spaces): Filename for your project (Note: If you intend to publish this mod, make sure it’s a unique name that others in the workshop haven’t taken. This name in particular will be annoying but not impossible to change later).
- Mod DisplayName: External name people will see in the mod browser and workshop (easy to change if you change your mind).
- Mod Author: Name you choose to publicly associate with your project.
- BasicSword (no spaces): This will generate a file with your project that contains logic for a sword and a sprite for that sword. In this guide, we’ll show how to modify this sword to make it your own. If you want to follow along, enter a name for your sword in the textbox. If you don’t plan on adding weapons or want to start with nothing, leave this textbox blank.
View your mod
The skeleton for your mod should now reside in the Mod Sources box as show below.

To view the files in your mod, press the “Open Sources” button at the bottom. This will take you to the file explorer. Double click on the folder with the name of your mod to view the files tModLoader created.
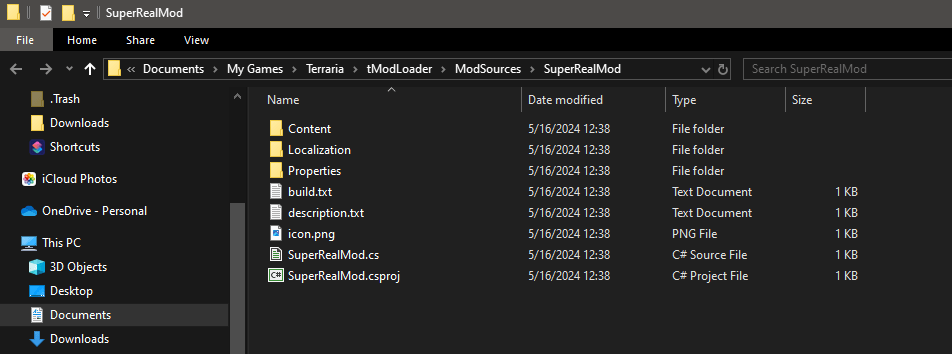
- [ModName].cs: This is the main file for your mod and contains the Mod class
- description.txt: What people will see when they click on your mod in the workshop or in the mod browser. When you publish your mod, you want to make sure you include what your mod adds so people will download it. (Tip: Add a file named description_workshop.txt with formatting to make it look good in Steam Workshop.)
- build.txt: Contains the version, author, and display name of your mod. You can add much more info to this file as your project progresses. If you want to change the external name of the mod as mentioned earlier, do it here.
- icon.png: 80×80 icon that will show in-game. If you want a file for the workshop as well, make an icon_workshop.png version that’s 512×512.
- [ModName].csproj: A special project file set up by Visual Studio used to debug. If you open this from tModLoader and you had multiple tabs open in Visual Studio related to your Mod, Visual Studio will remember those tabs and open them together even if you close your project.
- Properties/launchSettings.json: Related to csproj file, contains the path to the tModLoader files for debugging. Likely will not need to use.
- Content/Items/[ItemName].cs: If you opted to make a sword when creating your mod, this will contain the logic for the sword.
- Content/Items/[ItemName].png: Sprite for said sword.
- Localization/en-US_Mods.[ModName].json: Contains the English text for all the content you make in your mod. If you ever want to change what an item is named or what the tooltip of the item says, change them here. Right now, if you chose to add the sword when making your mod, will contain a default name and tooltip for it.


Find your footing
Everything we need to start building what we want is now in place. We’ll test this by creating the sword generated with our project files in-game.
- Click the Build + Reload button underneath your mod
- Load into the game (either with a fresh character/world or one you’ve already made)
- Make a workbench
- Gather 10 dirt blocks
- Craft your sword
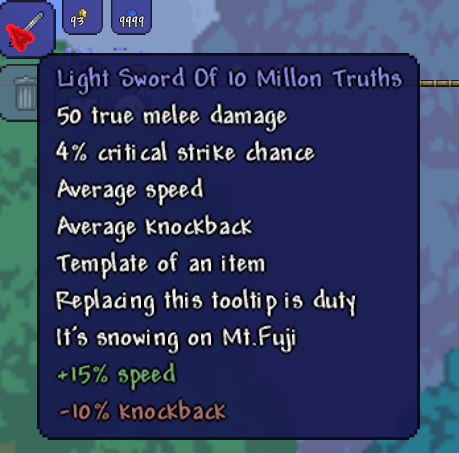
You should now have a sword with the same name you picked before generating your mod’s skeleton. Let’s change some of its attributes by changing some code.
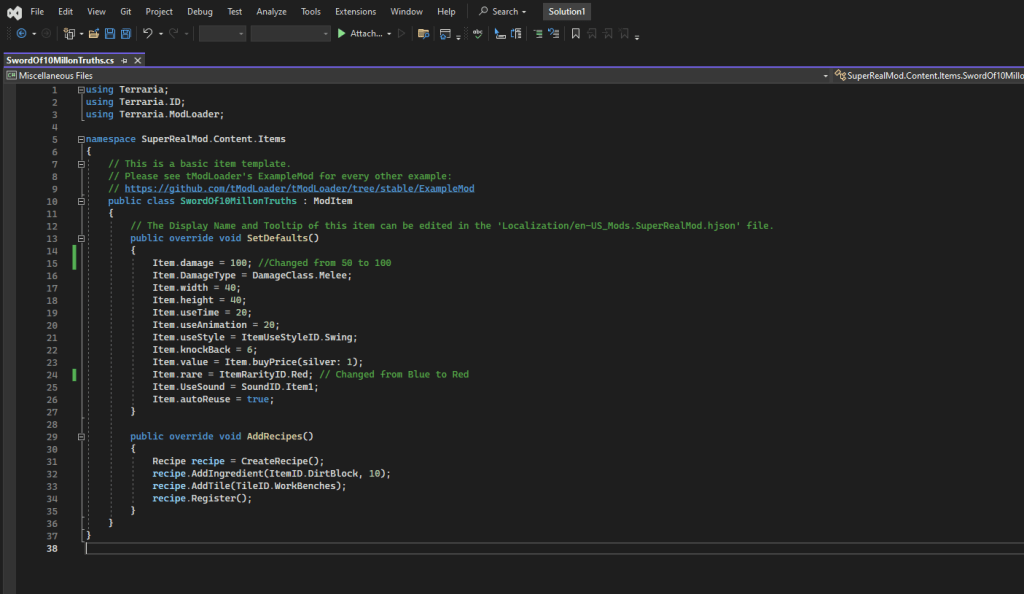
- Open the .cs file with your sword’s name (default path: Content/Items/[ItemName].cs)
- Find the line with Item.damage = 50
- Change 50 to 100
- Find the line with ItemRarityID.Blue
- Change Blue to Red
- Save your file (Ctrl + S)
- Next, open up your mod’s localization files in a text editor or IDE (default path: ModSources\[ModName]\Localization\en-US_Mods.[ModName].hjson)
- Make your own description for the sword by changing the text between the two sets of three apostrophes (the ”’)
- Click Build + Reload again
The sword you made will reflect the changes you made in the different files. If you want, you can continue messing around with the different values or even looking up how others make custom weapons to add your own twists to it. The next section will tell you a little bit about how to go about doing that.

Hit the ground running
If you’ve never made a mod, there are a ton of resources to start learning exactly what you want to learn. Because there are so many options for what you can make, it won’t necessarily be helpful to list how to do specific tasks as there are a lot of things you won’t want to do.

There are going to be three main resources you will want to look at:
- Example Mod – The most helpful out of all the options. tModLoader has made examples of almost all its features in this Example Mod that guides new modders practically on how to code anything from NPCs to items, walls, item drop rules, map layers, etc. Use the search function on GitHub to look for examples of what specifically you want to code.
- Open Source Mods – Looking up similar open-source mods to what you want to make is another extremely helpful way to figure out how others implement the ideas that you have. For example, when I was making a shop for the Nurse, I looked around for mods that made shops for characters that didn’t have shops in the vanilla version of the game (shout out to Angler Shop and NotLe0n). If you want to copy and expand on something someone else has done, it’s likely okay if you’re making your own project, but make sure to get permission to use their code if you’re going to publish something to the public.
- Tracking down specific questions online – Google and AI are going to be your friend here. Looking up tutorials on how to code particular things like armor sets or accessories can be helpful if you need step-by-step guidance rather than learning on your own. I’ve found Lynx on YouTube makes really good guides on specific topics. Claude or GPT are also EXTREMELY helpful when you ask it specific questions you have or you want it to make a specific item/come back with specific logic, although there are limits to what AI can currently do. Even if you copy and paste thousands of lines of code, the AI won’t understand how everything in your project interacts, so be careful using it.
- Official tModLoader Discord – Extremely helpful resource for many things. They have a help channel that many experienced devs check on to provide assistance for people that have questions. Their time is limited though, so if you do use this resource, make sure that you have exhausted all the options above before asking your question. I’ve used it twice before, and both times people were very helpful.
With these four resources in your hands, you can make anything you put your mind to.
Before publishing
Before you publish your mod for the public, make sure you read this guide on the tModLoader GitHub. This will give you a final checklist of absolutely everything you should do before putting it on the workshop.
Additional resources
If you’re interested in a guide that dives a little further into the specifics of C# terms, I’d also recommend checking out the official tutorial in the tModLoader GitHub. If you scroll through, you can see that the guide has much more information than this guide, however, a lot of the information can be hard to parse for a true beginner.
The GitHub also has written guides on specific topics here.
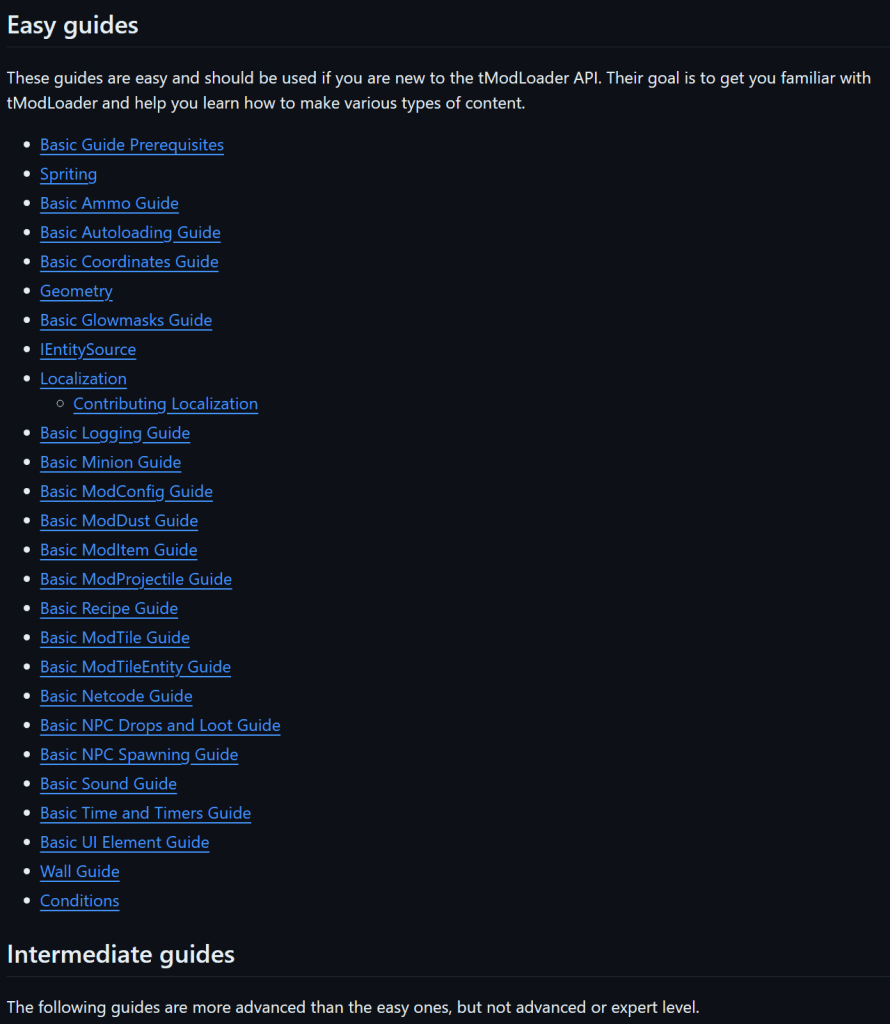
For a glimpse at why I chose to keep my guide broad instead of diving into specific topics, take a peek at the Easy guides on the GitHub.